
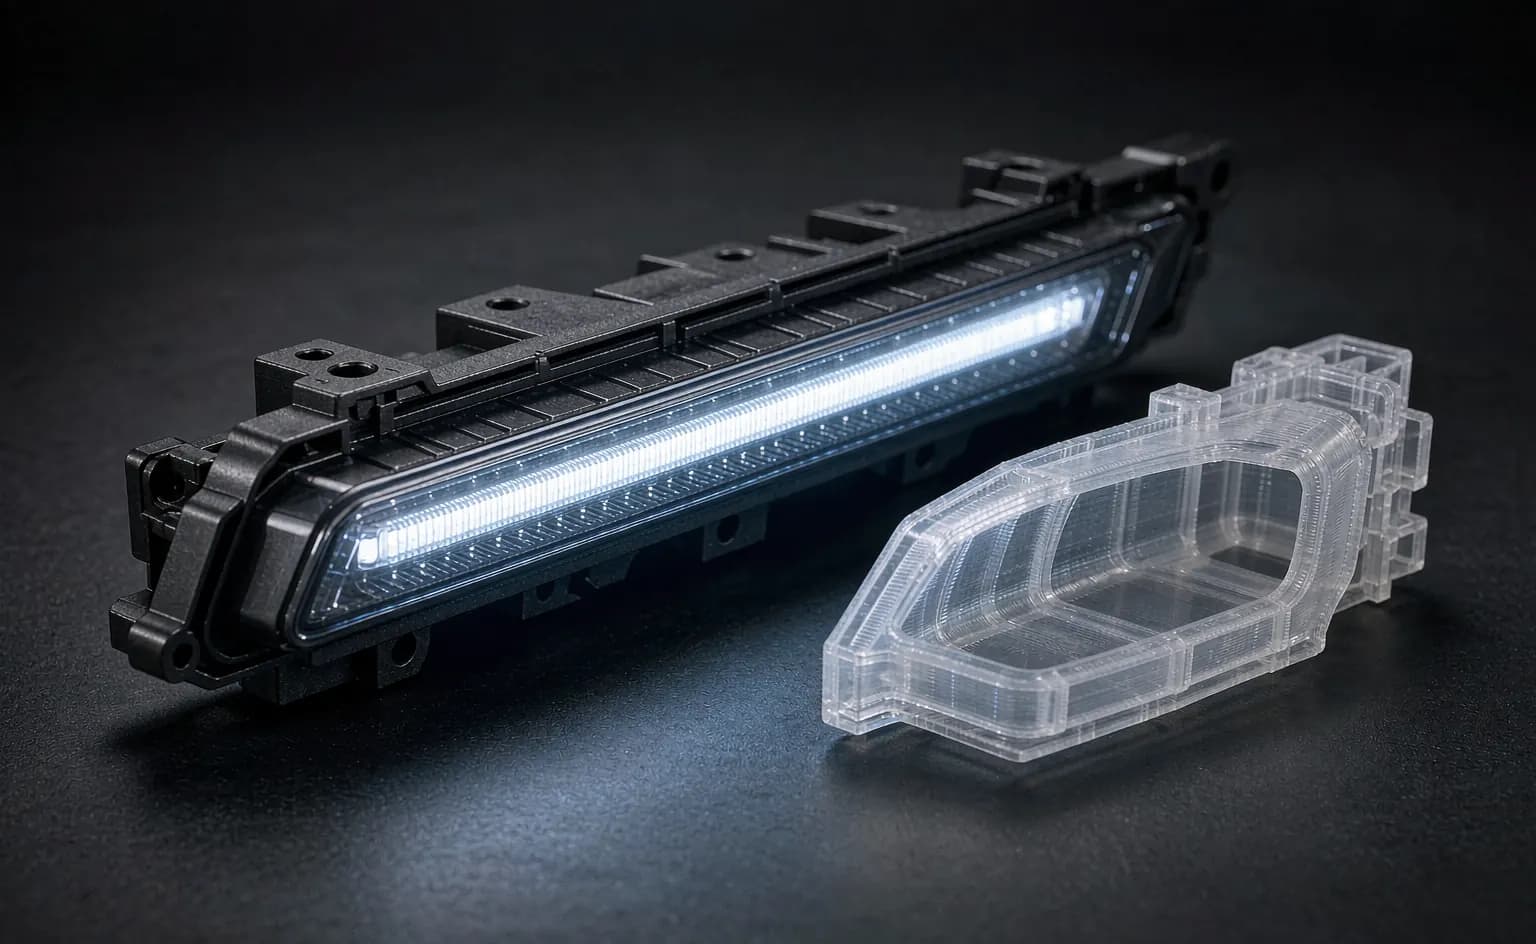
Traditional automotive-lighting development can require weeks of tooling before a physical part is available for validation. With additive manufacturing, a first-fit prototype of a DRL, fog light or rear bumper light can often be produced shortly after the CAD model is finalized, allowing engineers to begin fitment and design checks much earlier. Additive manufacturing has become a practical development tool for vehicle-specific automotive lighting. This guide explains where it adds value, where its limits are, and what B2B buyers should ask a supplier about the prototyping process.
Why automotive lighting is one of the hardest parts to develop
A vehicle lamp sits at the intersection of four demanding disciplines. Styling: the lens must follow the body line of a specific car model to the millimetre. Optics: a deviation of half a millimetre on a light guide changes the entire beam pattern. Thermals: an LED lamp is a small oven, and the housing must survive years of heat cycles. And regulation: the finished product has to pass E-mark or DOT testing before it can be sold. Every one of those decisions ultimately has to be validated on a physical part - and that is exactly where 3D printing changed the rules.
The traditional bottleneck: tooling first, answers later
The conventional development path often requires a production-intent tool before engineers can evaluate a moulded part. Steel tooling can take weeks and represents a major upfront investment; design changes after tooling may require re-machining or tool modification. The result was predictable: conservative designs, long cycles, and expensive surprises discovered late, when changes cost the most.
Five ways 3D printing changes the development cycle
1. From CAD file to physical part in 24–48 hours
There is no mould to cut, so the prototype queue collapses. An engineer edits the CAD model in the morning and holds the printed housing the next day. Multiple design revisions can be evaluated before production tooling, helping reduce the cost and delay of late-stage changes.
2. Design freedom for optics: light guides and reflectors
This is where additive manufacturing is irreplaceable. Modern lamps rely on light guides with internal refractive textures, diffusers and complex reflector geometries that are nearly impossible to machine. A high-resolution SLA clear-resin optical prototype can be post-processed and polished to support early evaluation of light distribution, hotspots, diffuser textures and visual uniformity before production tooling exists.
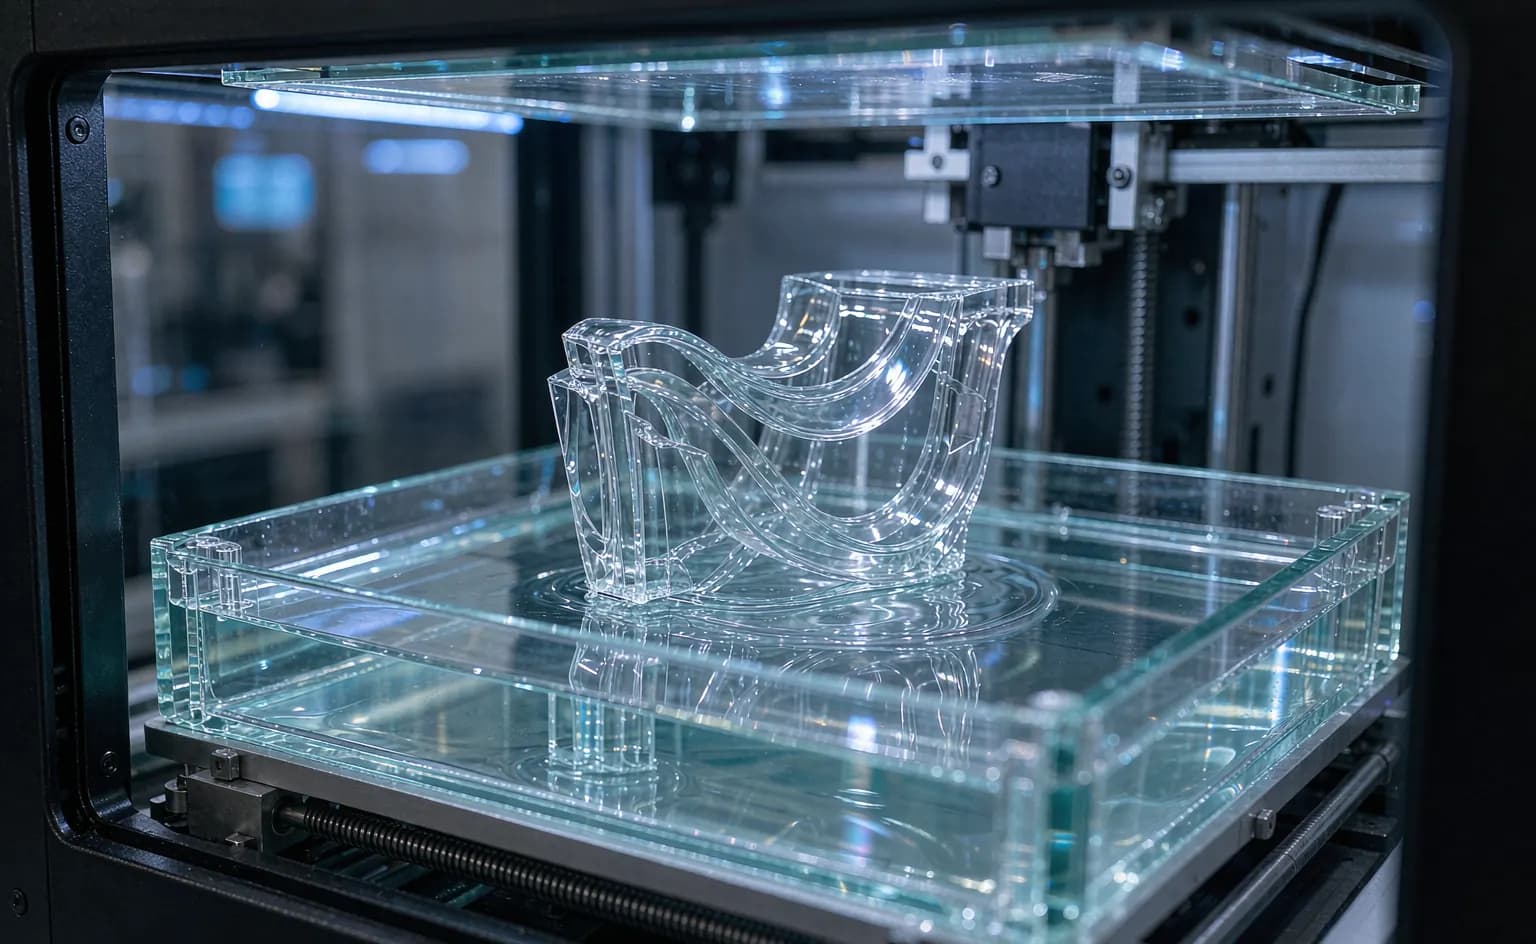
3. Fitment validation on the real vehicle
A printed housing with accurate mounting clips can be snapped onto an actual bumper the same week. Engineers check panel gaps, bracket alignment, wiring clearance and screw bosses on the real car - catching the errors that CAD alone never reveals, and locking the design before the mould is ordered.
4. Thermal and endurance pre-testing
Engineering-grade SLS and high-temperature SLA materials can support early thermal screening and assembly checks. These prototype materials are useful for identifying hotspots, clearances and heat-sink issues, but they do not replace validation on the final production materials.
5. Bridge production for samples and small batches
Once the design is frozen, an SLA-printed master model can be used to create a silicone mould, which can then be used for a limited bridge batch. These parts can support distributor samples, showroom evaluation and selected pre-production checks while production tooling is being prepared.
Choosing the right material for the job
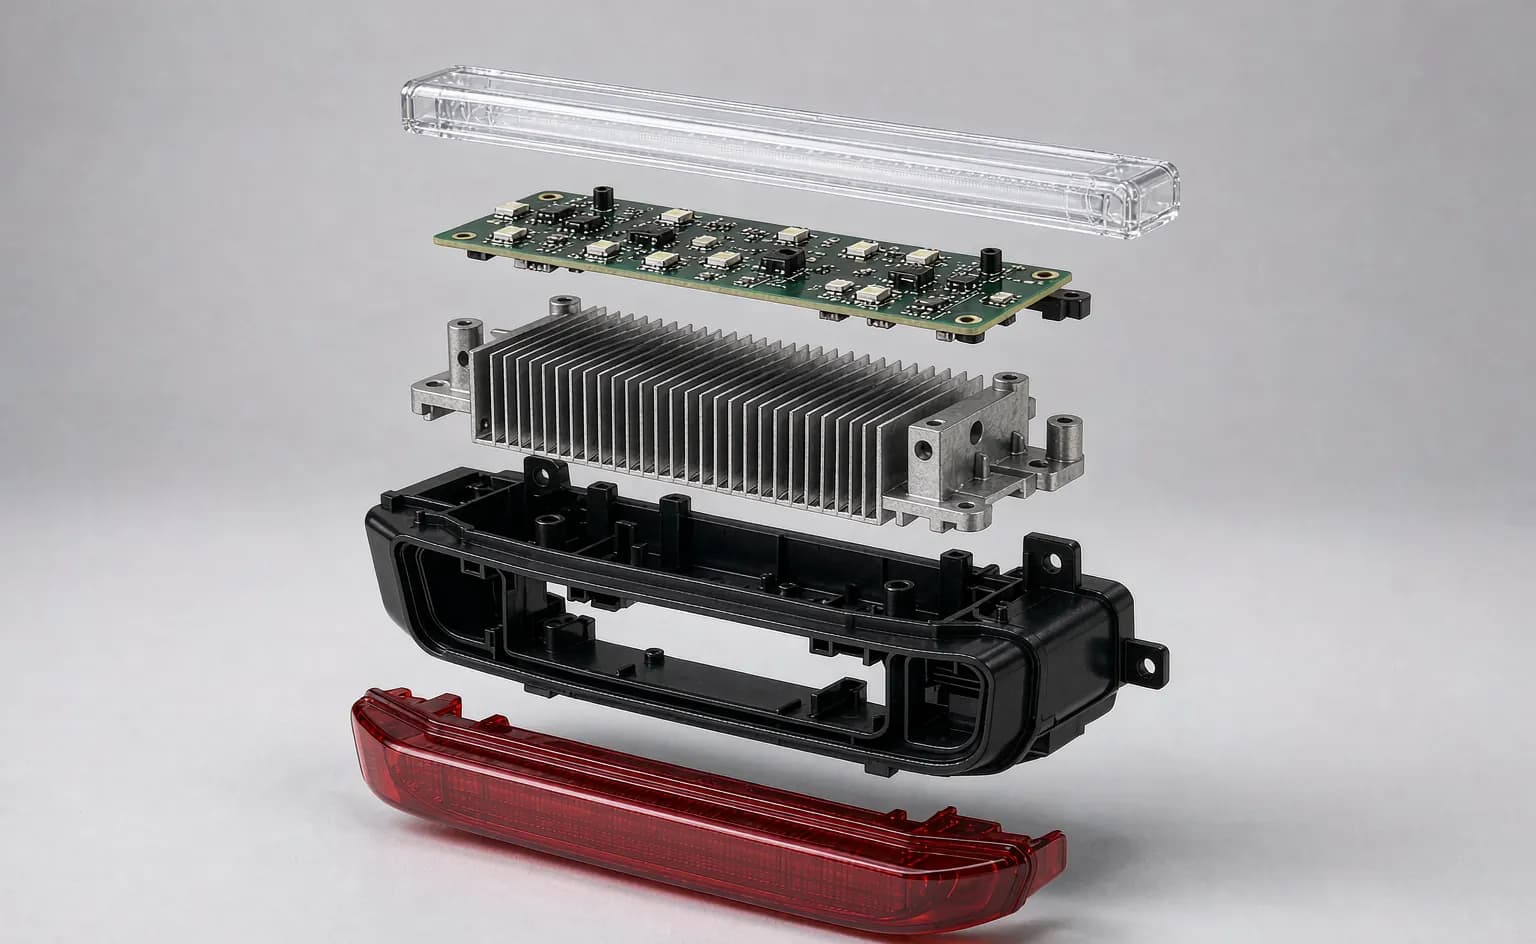
In practice, one lamp never uses one process. The workflow is to split the assembly and match each component to the material that best simulates its production behaviour:
| Component | Process & material | What it validates |
|---|---|---|
| Clear lens / light guide | SLA clear resin, polished | Beam pattern, diffusion, transmission |
| Housing & brackets | SLS nylon or high-temp SLA resin | Fitment, clips, heat resistance |
| Reflector cup | SLA resin + vacuum metallising | Reflected beam shape and intensity |
| Small bridge batch | SLA master + silicone mould, PU casting | Road tests, samples, durability runs |
A two-week iteration loop, visualised
Put together, the sequence compresses what used to be a quarterly event into a repeatable two-week loop:
The development loop shown above is illustrative; actual timing depends on the design and validation requirements.
Where 3D printing still falls short
An honest picture matters. Printed parts are not production parts: lens surfaces still need hand polishing to reach optical grade, prototype resins cannot match the decade-long UV and thermal ageing of production polycarbonate, and per-unit cost means injection moulding wins decisively at volume. Most importantly, regulatory compliance must be confirmed on the final production design and materials; a printed prototype supports development validation, not final road-legal approval. That is why the correct role of 3D printing is precisely defined: it removes risk and delay from development, then hands a frozen, validated design to the toolmaker.
What this means for buyers and importers
If you source automotive lighting, the speed of your supplier's development loop determines how fast you can respond to your market. A distributor who needs a lamp for a vehicle popular in a specific region no longer waits half a year; with an in-house print lab, the loop from sketch to road-test samples is measured in weeks. It also unlocks custom and low-volume programs that were economically impossible under the old tooling model.
At WINAUTO, an automotive-lighting manufacturer established in 2011, rapid prototyping supports the development of vehicle-specific LED daytime running lights, fog lights and rear bumper lights. Our team works from vehicle and market requirements through design, prototyping, sample confirmation and mass-production planning. Product-specific compliance documentation is provided according to the destination market and applicable program requirements.
Frequently asked questions
Can 3D printing produce final production automotive lights?
No. It is used for prototypes, fitment checks, thermal pre-testing and small bridge batches. Mass production typically uses injection moulding, and final compliance must be verified on the production-intent design and materials.
How accurate is a 3D printed lens prototype optically?
A high-resolution SLA clear-resin lens can be polished and used to evaluate beam pattern, hotspots, diffuser textures and visual uniformity before production tooling.
How much does a 3D printed lighting prototype cost?
Prototype cost and lead time vary by part size, material, finish and supplier. In general, 3D printing allows physical validation without the upfront cost and lead time of a production injection mould.
Does 3D printing also work for rear bumper lights?
Yes - rear bumper lights follow the same workflow: printed housings for fitment, printed light guides to tune red diffusion, and silicone-moulded bridge parts for road testing.
Planning a vehicle-specific lighting program?
Send us your target vehicle, model year, target market, expected quantity and required lighting function. Our team can review the fitment brief and discuss the next development step. Explore our LED daytime running lights, fog lights and rear bumper lights, review our OEM & ODM process, or send a project inquiry. Email: winautolight@gmail.com.